Anna's Creative Space

Saturday, August 3, 2013

Sep 2010 - Sep 2012 - FACE PAINTING at the Annual OLPH Church BBQ

Hello fellow artists and crafters!  Summer is almost over and a new school year is about to begin.  OLPH Catholic School has an annual 3 day barbeque where I volunteer my time in the Chorus Line Costumes face painting booth.

I started face painting 8 years ago when my daughter was in Kindergarten as a way to earn service hours at her school.  I look forward to the OLPH BBQ and Halloween Carnival every year as they give me a chance to take a break from my hectic schedule and fully immerse myself in face painting.

Here are some fun photos from previous years.

SEPTEMBER 2010


SEPTEMBER 2011


SEPTEMBER 2012


Thanks for looking!  Many Happy Scrappenings!
 
-Anna


Tuesday, February 19, 2013

Feb 9, 2013 - Annual Auction Dinner Dance Artwork

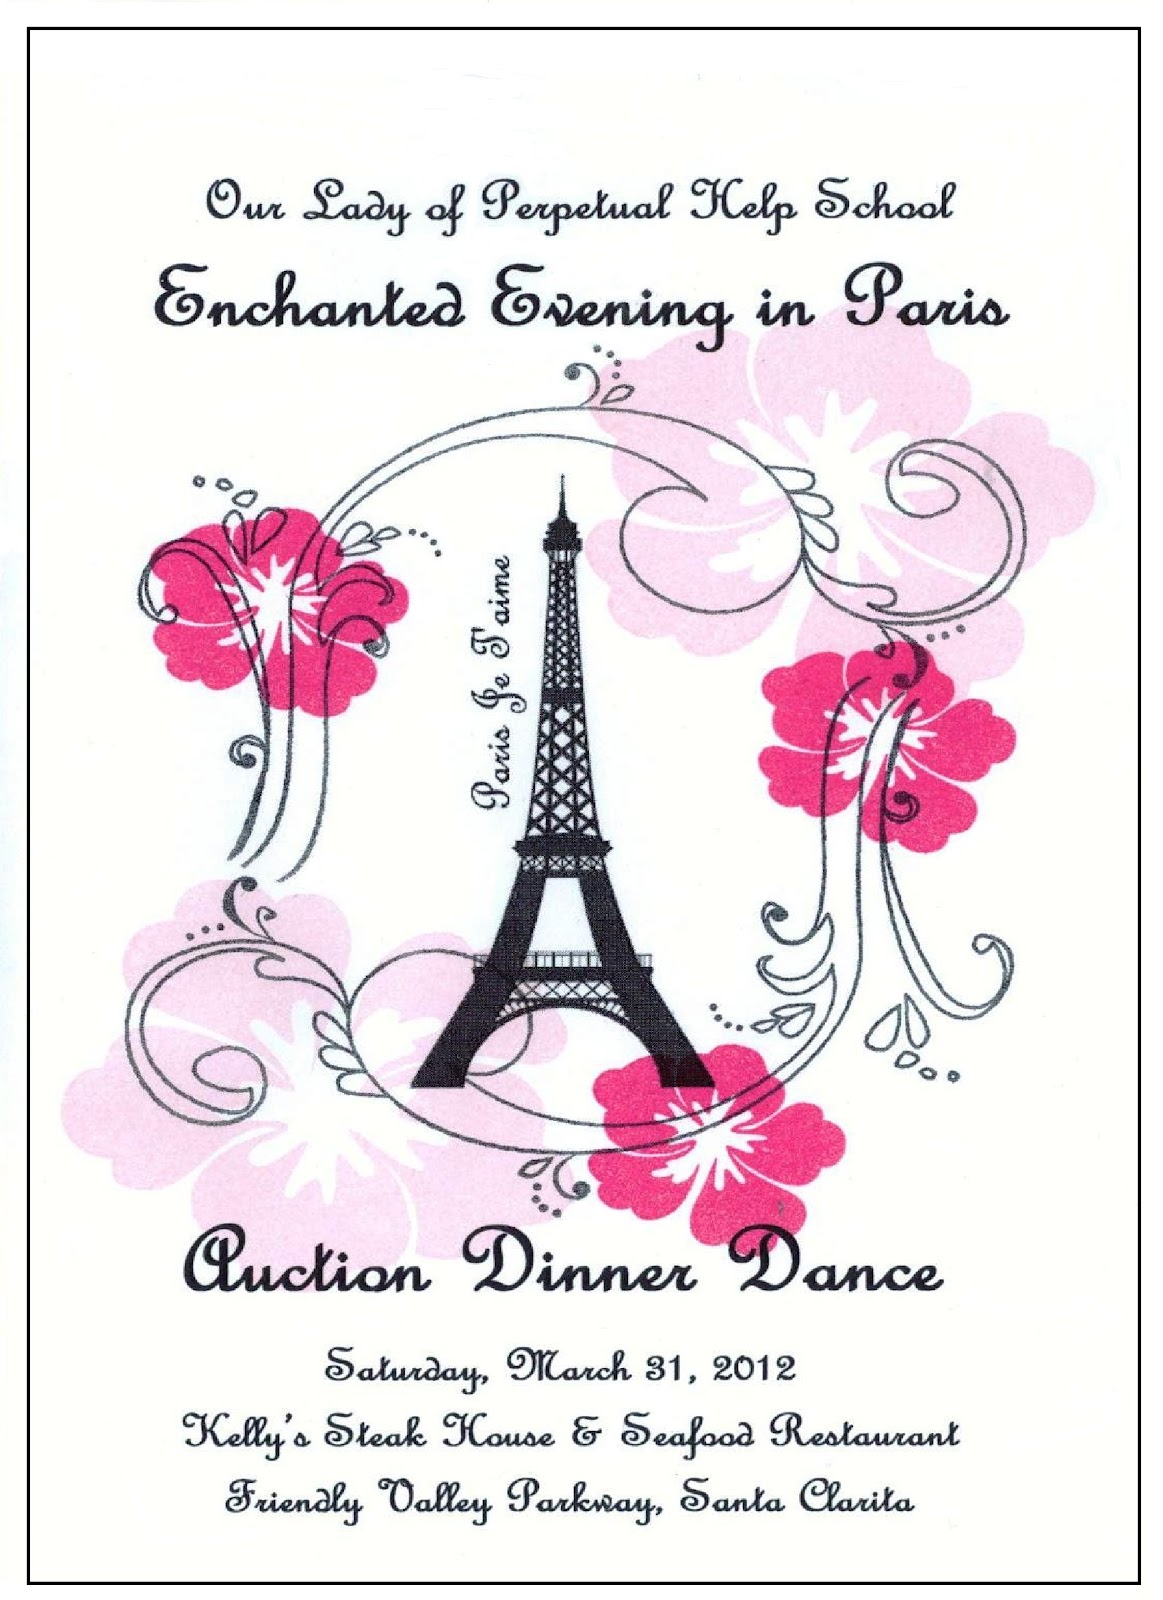
It's that time of year again!  Time to showcase the artwork I created for the annual auction dinner dance, the major fundraiser for my childrens' K-8 school.  We raised money for school repairs, upgrades and new technology for the classrooms.  Our auction happened on February 9th and was a smashing success.  I'm very proud to say I was one of 3 ladies who co-chaired the event and, together with a team of dedicated people, brought it to fruition after 6 months of hard work.

I created a series of posters and signs as part of the overall decor.  The theme this year was the school's 50th anniversary, so our color scheme was black, cream and gold.

This is the welcome sign that was displayed in the foyer. 

I used the following materials:

Foam core poster board
Canson Mi-Teintes colored drawing paper, Stygian Black
Canson Mi-Teintes colored drawing paper, Eggshell
Strathmore Chromolux Mirri, Gold
Martha Stewart Large Glitter, Onyx
Doodlebug 1/8 Sugar Brads, Beetle Black
Cricut Everyday Cartridge Art Deco, Curtain Call font


I attached the Canson eggshell paper to the poster board with the spray adhesive.  I then created the 3D frame by cutting (2)long strips and (2) short strips from the Canson black paper, running them through a 5” Xyron, applying onyx glitter to the top, folding the strips into long rectangular boxes, pasting them together in the corners, and adhering the entire frame to the poster board with glue lines.


I created the art deco couple using free clipart I found on the internet.  I enlarged and printed the image through MS Paint, then used it as a pattern to draw and cut out the man and woman.  I popped the arm of the woman off the page at the shoulder, the hand of the man at his hip, and the man's tie off of his jacket.  I used Doodlebug Sugar Brads for the man's tuxedo buttons.


All letters and numbers were created from the Cricut Art Deco cartridge.  All of the 1" and 2" letters and numbers had to be cut twice--once from the gold chromolux, and once from the black cardstock.  The letters had to be run through the xyron 3 times--once for the glitter, once to adhere the black & gold letters together, and a 3rd time for the completed letters.


I created (10) 12" x 12" 50th Anniversary signs that were used as decor on the auction tables around the room .  The fan effect was created by popping each layer off of the previous layer. 

 
I used the following materials:

Recollections 12 x 12 glitter paper, black
Recollections 12 x 12 shimmer paper, String of Pearls
Strathmore Chromolux Mirri, Gold

I created 10 category signs for use on auction tables around the room:


I made a small lamp decoration and a sign for the check-in table:


I made 20 double-sided table numbers (only 19 were used).  The art deco inspired square mats were cut from Spellbinders Labels 22.  Each table number had a small strip of black ribbon attached to the inside bottom of the tent so the weight of the glitter paper wouldn't open too wide and flatten out the tent.


I made 129 simple place cards from black cardstock and eggshell colored copy paper.  The venue allowed us 4 menu choices, so I used colored dots on the back to indicate which meals were chosen.


I designed the invitation, RSVP cards and program.  I had the invites and RSVP cards professionally printed with gold foil and thermography on off-white linen cardstock, and I pasted the invites onto a 5" x 7" black cardstock base.  The printer also made 135 programs for the event.  He used black thermography on linen cardstock for the cover to give the design a glossy look.  The interior pages were flat printing on off-white linen paper.


 Finally, here are some photos of the venue:


My scraproom looked like a bomb went off inside it the night before the event.  I think I got 2 hours of sleep that night.


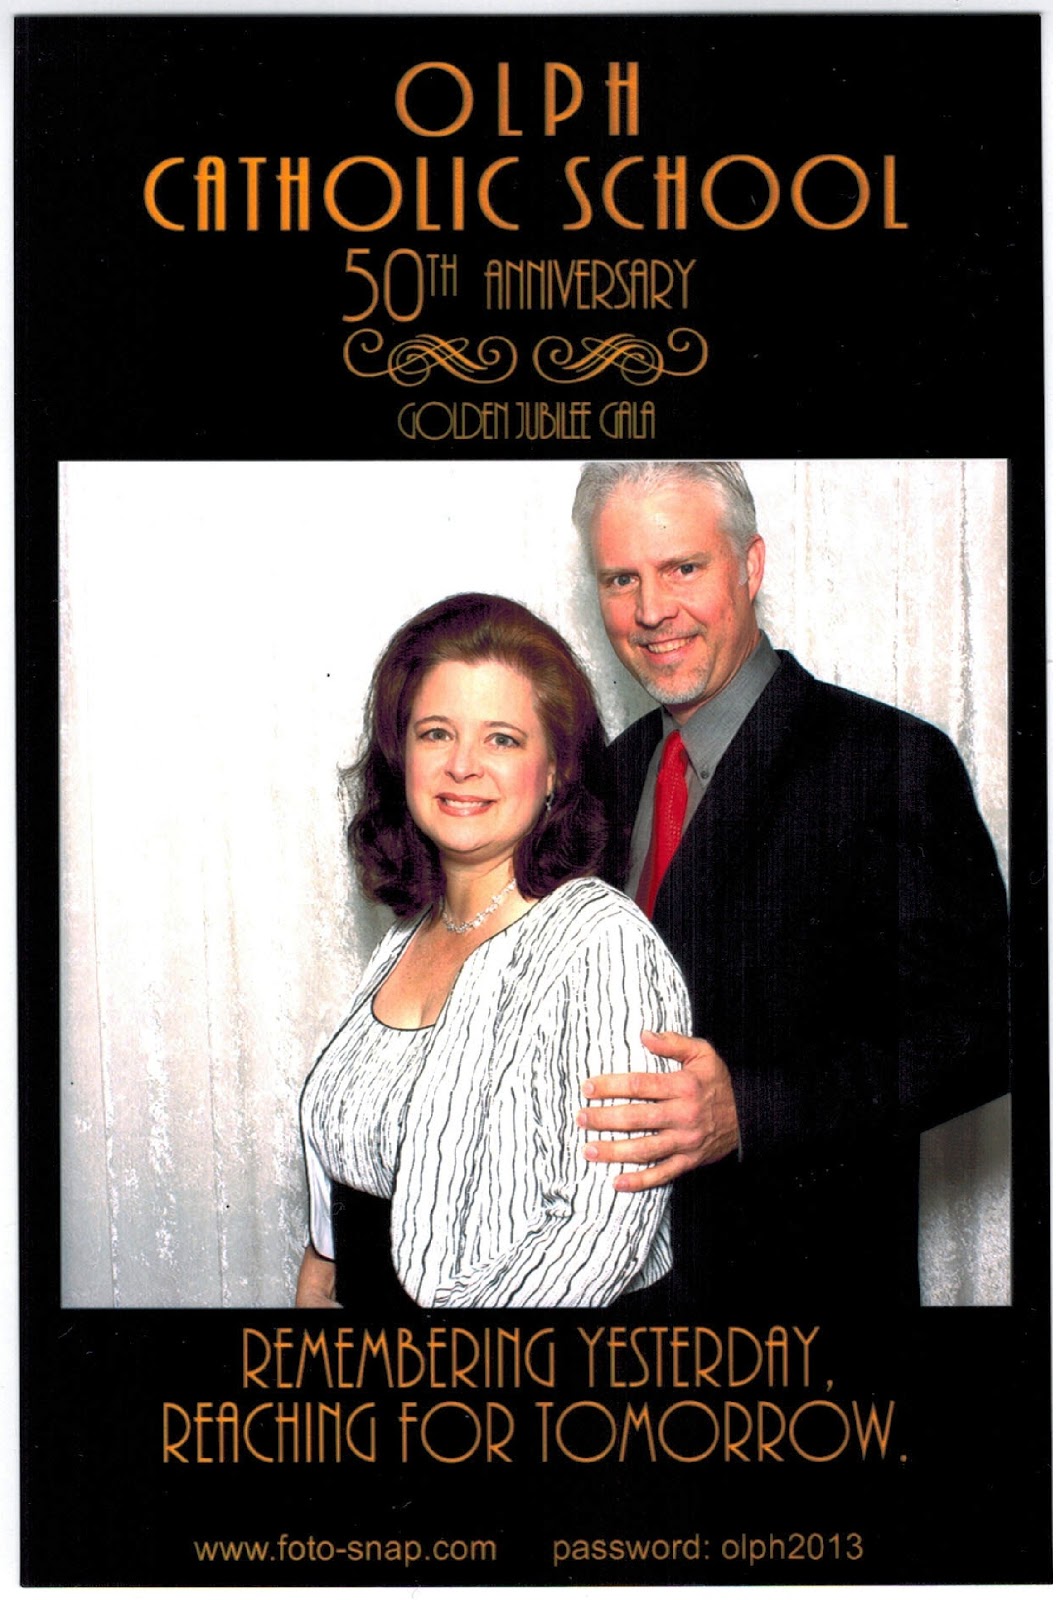
A photo booth picture of my hubby and I all dressed up.  Everyone at the event was able to use this photo booth for complimentary photos.


So now you know what I've been doing with myself for the past 6 months.  I hope you enjoyed my little tour of our school fundraiser.  It was a lot of work, but I really enjoyed it, I made some wonderful friends along the way, and we had a fabulous turnout--190 people came!  I was so happy with the end result.  We all had a great time.

Many happy scrappenings,
Anna

Sunday, July 1, 2012

Jul 1, 2012 - INDEPENDENCE DAY BLOG HOP

They're having another fantastic blog hop over at Scrapbook Place in honor of Independence Day.  If you've just hopped over from Sue's blog, you're in the right place.  If not, you can start from the beginning using the links at the end of this post.  Then hop on over to Scrapbook Place's Blog to see more artistry by some of our blog hop participants.


I created a 5 x 7 card using a digi image from designer Pammie Lehto.


MATERIALS USED:
Digi Image by designer Pammie Lehto
DCWV Nantucket Stack
Stampin' Up! Real Red Cardstock
Stampin' Up! Night of Navy Cardstock
Recollections Adhesive Rhinestones
Recollections Glitter Brads
Recollections Mini Star Brads
Sizxix Accordion Fold Flower Die
Prima Mini Me Flowers
Star Punch
Recollections Silver Glitter Paper

Thanks for stopping by to see my my Independence Day creation!

Happy Scrappenings
-Anna


BLOG HOP PARTICIPANTS

Tuesday, April 3, 2012

Mar 31, 2012 - Ooh la la! Paris Je T'aime! Annual OLPH Auction Dinner Dance Artwork


I created this 19” x 25” poster board for the OLPH Auction Dinner Dance this past Saturday.  The auction committee needed a welcome board to display at the banquet hall's entrance, and our theme was “An Enchanted Evening in Paris.”

SUPPLIES:
Black foam core board
Canson Mi-Teintes Colored Drawing Paper - Stygian Black, Orchid, White
Treasures by Shabby Chic - Damask Gift Wrap
Recollections Glitter Paper – White, Silver, Orchid, Raspberry, Black
Recollections Glitter Embellishments
Recollections Adhesive Rhinestone Flourishes - Black
Sizzix Bigz Die - Tim Holtz Elegant Flourishes
Sizzlits Alphabet Dies - Bloom
Sizzlits Deco Strip Die - Frills #2
MS Punch Around the Page - Double Arches Large
Glitter Ritz Microfine Glitter – Fuchsia, Black
Prima Fabric Fancies - Quartz
Jewelry Essentials - 10mm clear rhinestones
Celebrate It! Ribbon - 7/8” black & raspberry glitter stripe
SU Cardstock – Basic Black, Melon Mambo

I started with a black foam core board, which I covered with Canson orchid paper, and used strips of Canson white paper to create the striped effect.  I punched the edge of the Canson black paper with the double arches punch, and constructed an awning to create a cafĂ© sign effect.  I pasted the Damask gift wrap and handmade hibiscus flowers on top of the awning, and glued the Recollections glitter embellishments along the top edge. 


I cut multiple flourishes from the silver & white glitter paper using the Tim Holtz Elegant Flourishes die.  The medium and large hibiscus flowers were hand cut from the raspberry, orchid and black glitter paper using clip art I found on the web as a pattern.  The Eiffel Tower was hand cut also using a clip art pattern; I ran it through my Xyron and covered it with black microfine glitter to give it some sparkle.  I cut 2 sets of Sizzix Bloom letters from SU Basic Black and Melon Mambo cardstock, and ran the Melon Mambo letters through the Xyron and applied the fuchsia glitter.  The Basic Black letters were used underneath the Melon Mambo letters to give the title a shadow effect.  I glued the glitter flourishes to the board first, the rhinestone flourishes next, the large hibiscus flowers, then popped the Eiffel Tower off the flourishes with foam tape. I punched a 2nd Canson black strip of paper with the double arches punch, and applied the ribbon and 10mm rhinestones on the bottom of the board.


AUCTION PROGRAM


This is the 2nd year I put together the Auction Dinner Dance program, including the cover artwork.  The cover was created on standard copy paper using a combination of computer typing, Eiffel Tower clip art, and stamps courtesy of my good friends Linda W. & Mel R. from Scrapbook Place.  The cover was then printed by a professional printer onto white cardstock.

SUPPLIES:
Stampology Clear Flourishes V.2 (from Linda W.)
CTMH Stamp Set - C1356 Extreme Happiness (from Mel R.)
SU Ink - Melon Mambo, Pretty In Pink

Thanks for taking a peek at my latest creations!

Happy Scrappenings,

ANNA


Saturday, October 22, 2011

Oct 22, 2011 - Fall & Halloween Blog Hop at Scrapbook Place

Hello Fellow Scrapbookers!  It's another fun blog hop over at Scrapbook Place.  If' you've just come from Shannon's Blog you're in the right place.  If you've just discovered our blog hop, go back to Linda's Blog and start there.  Follow along and see all the lovely creations from our members.  If you get lost, the blog hop list is at the end of this post.

I'm featuring some Fall & Halloween items I created:

Fall Tags


Halloween Tag & Puzzle Piece


I like many layers and depth in my creations.  The more three dimensional, the better!

Here's the blog hop order.  Don't forget to leave a comment on each blog when you visit!


Many Happy Scrappenings!
Anna


Monday, September 26, 2011

Sep 26, 2011 - Tag Challenge at SBP

Hello Scrapbook Friends!  I created this tag for Scrapbook Place's Tag Challenge.


I used Spellbinder's Labels 17, Petite Ovals Large, and Petite Scalloped Ovals Large dies; Impression Obsession's Script background stamp; Heartfelt Creations Falling Leaves Dies and Open Falling Leaves stamps; Martha Stewart’s Loop edge and Pine Branch punches; Glimmer Mist colors Sunflower, Burnt Red, Brick, Suede, Coffee Shop, English Ivy, Peach Delight, and Haunted Shadows; wine colored Skittles, Sakura Stardust Gel Pen, copper colored wire, fall-themed ribbon, bronze metallic paper, and chipboard.
I sprayed an A2 sized piece of white cardstock with Coffee Shop, Sunflower, Burnt Red, and Peach Delight Glimmer Mist colors, then used Impression Obsession's Script stamp to create the background.  I mounted the bronze metallic base paper, the stamped background, the bronze scalloped oval, and the sentiment on chipboard to make the tag sturdier.   I sprayed seven A2 cards with individual colors of Glimmer Mist and used those as my bases for stamping, punching & die cutting images.  The leaves were created using Heartfelt Creations stamps/dies on the Brick, English Ivy, Haunted Shadows, Coffee Shop, and Peach Delight Glimmer Mist card bases; the pine branches were punched from the Sunflower Glimmer Mist card base.  The loop edge under the leaves was punched from the Haunted Shadows card base.  I accented the leaves with the Stardust gel pen.  I added copper wire curlicues that I created by wrapping 1 large length of wire around a toothpick like a spring, stretching it out to give it a wavy look, and snipping off 5 lengths to use in random places.
Hope you enjoyed my creation!
Many Happy Scrappenings
Anna