Welcome to Scrapbook Place's monthly blog hop! Our theme this month is "April Showers Bring May Flowers" so you will see FLOWERS featured in all of our creations.
If you just happened upon my blog, you will want to go back to the beginning of the hop -
Lindsy's blog - and follow through to see all the beautiful creations! Have fun hopping along with us and if you get stuck, hop on over to the
Scrapbook Place's blog where the entire hopping list will be posted.
Thank you for joining us in more inspiration!
In the group:
Lindsy
Leti
Allie
Annette
Shannon
Linda
Debbie
Teresa
Diane
Donna
Pat M
Anna
Rhonda
Holley
Jinky
Scrapbook Place Group Blog
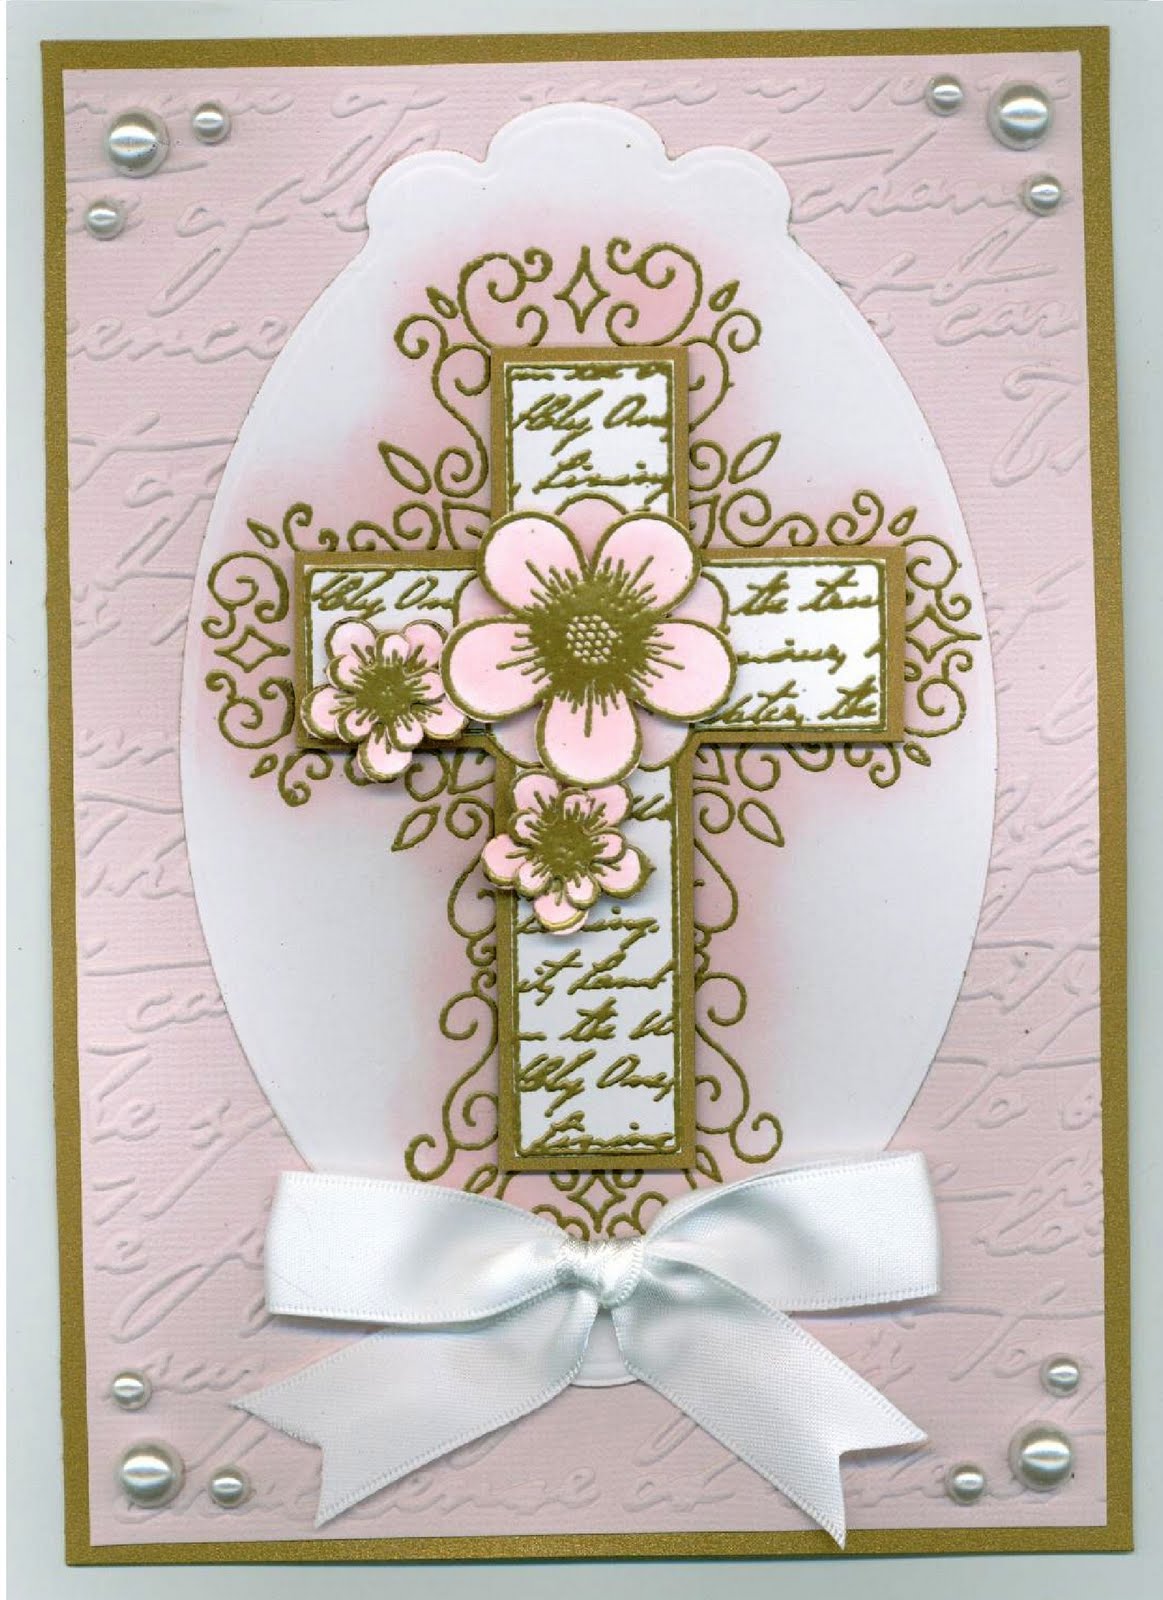
My entry this month is a Flower Bouquet birthday card.
SUPPLIES USED:
Heartfelt Creations Daisy Patch Bouquet stamp
Heartfelt Creations Daisy Patch stamps
Heartfelt Creations Daisy Patch dies
Impression Obsession Flourishes Stamp
Cardstock: Stampin'Up! Bravo Burgundy, Brown, White
Memento Ink: Black, Brown
Stampin'Up! Stampin' Write Markers: Wild Wasabi, Always Artichoke, Rich Razzleberry, Tangerine Tango, Poppy Parade, Regal Rose, Daffodil Delight, Pumpkin Pie, Pretty In Pink, Rose Red
Glimmer Mist: Sunflower, Black Cherry, Marmalade, Sugar Plum Fairy, Tutti Fruitti, Burnt Red.
Glitter Glass: Rose, Red, Spice Brown, Orchid, Copper, Geode
Prima Pearls & Crystals
Sheer orange organdy ribbon
I used the Stampin'Up! Bravo Burgundy as the base for my 5x7 card. I sprayed a piece of white cardstock with the 6 colors of Glimmer Mist in a random pattern, blotted off the excess and quick-dried it with a heat gun. Then I stamped the Impression Obsession Fourishes background stamp on top with Memento brown ink. I stamped the Heartfelt Creations Daisy Bouquet on white cardstock. On a separate piece of cardstock I stamped 3 small daisies and 2 large daisies. I colored the daisies in the bouquet and the individual daisies with 6 different Stampin' Write marker colors and die cut the 5 individual daisies with the Heartfelt Creations Daisy Patch dies. I popped the 3 small daisies off of their matching colors and popped 2 large daisies, 1 on top of the other, off the single large daisy in the center so it would be 1 layer higher than the 3 small ones. I used different colored glitter glass in the centers of each daisy. I pasted the bouquet card to a brown cardstock background, used 3 sizes of Prima half pearls on the top and bottom of the card, and orange organdy ribbon for the bow.
Quick Fix Note: The reddish daisy on the bottom left of the bouquet was originally a Pumpkin Pie color, but it didn't have enough contrast against the large center flower. I fixed it by coloring over it first with Pretty In Pink, then Rose Red to create a new color. The resulting contrast against the other daisies was perfect.
I hope you liked my card!
Many happy scrappenings,
Anna